The Rustic Apple Tart

Share

TwitterFacebookCopy LinkPrintEmail

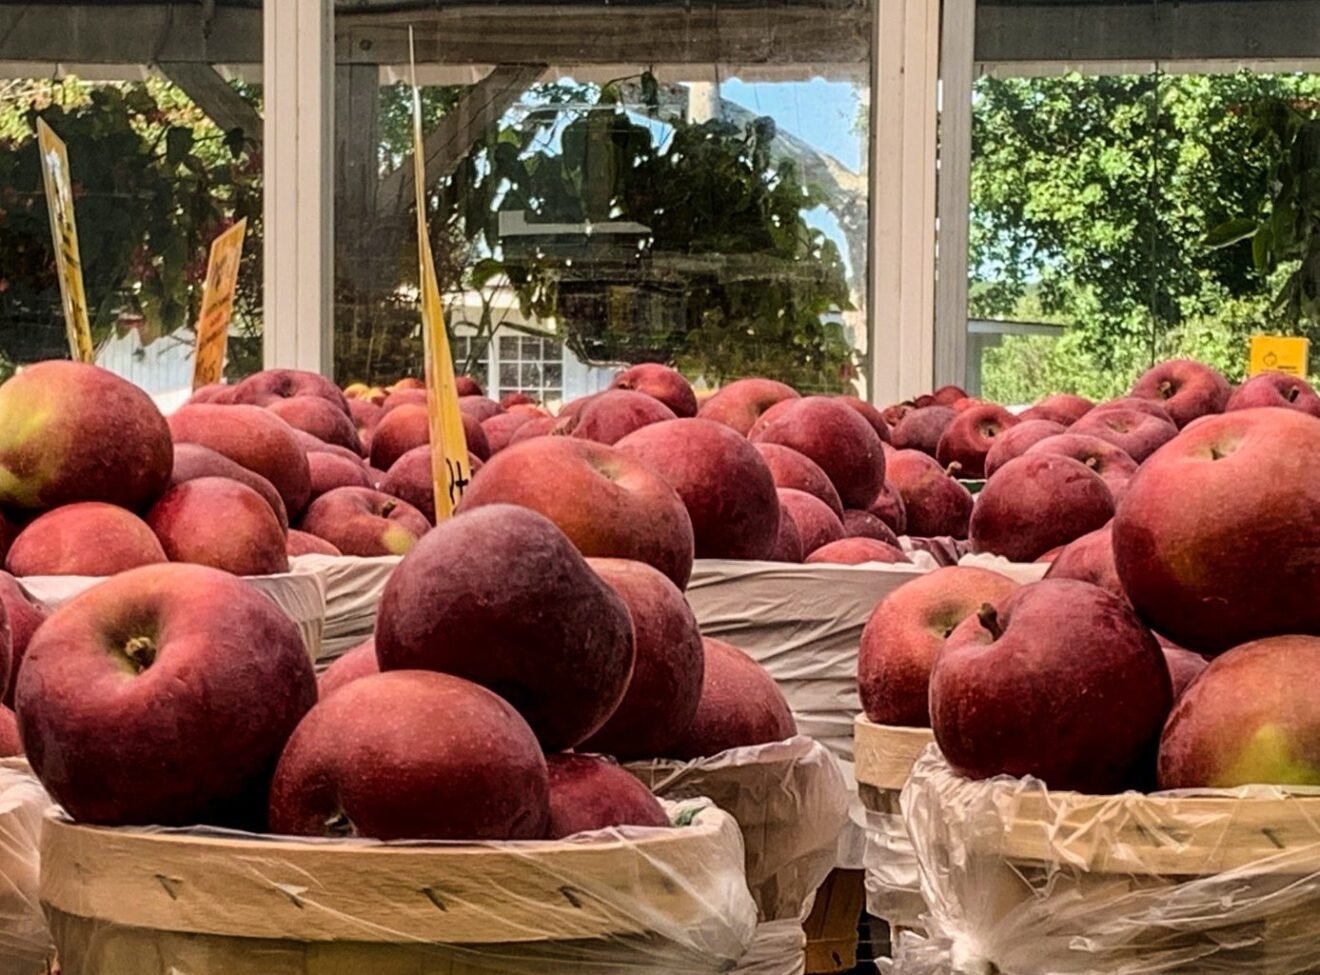
There is little easier, more sophisticated or a delicious than this basic apple tart.

And with apple season at hand, here’s a sweet that is nearly foolproof and can be made in 20 minutes, from rolling out thawed frozen dough, slicing apples, sprinkling sugar and dotting butter–it’s in the oven, done.

At Scott’s Yankee on the Post Road in East Lyme, I picked up a half peck of Honey Crisp apples, a can’t-miss variety that’s in season in September, but most any other pie apple will do.

The great thing about this recipe is that it can be adapted to whatever fruit is available–peaches, pears, plums. Of course, you can still make the dough from scratch, but if you keep a few packages of puff pastry in the freezer, you can have a not-too-sweet dessert in no time, so why wait?

RECIPE

  • 1 package puff pastry  (usually two to a box)
  • 4 large apples, peeled, cored, and sliced
  • 2/3 cup sugar
  • 1/2 cup butter, thinly sliced

METHOD

  1. Preheat the oven to 425°F.
  2. On a floured work surface, roll out the puff pastry into a 12-by-15-inch rectangle between 1/8 and 1/16 inch thick.
  3. Sprinkle or spritz cold water on a 13-by-17-inch sheet pan. The water will keep the bottom of the tart from burning.
  4. Roll the dough loosely around the rolling pin and unroll it over the pan. Trim the edges of the rectangle so they are even.
  5. Peel, halve, and core the apples.
  6. Thinly slice the apple halves crosswise. Gently press the sliced apple halves to fan out.
  7. Arrange the apple slices in 4 rows along the length of the tart, overlapping the slices so that each slice covers about half of the one before it. Sprinkle the tart evenly with the sugar, and cover evenly with the butter slices.
  8. Bake for about 1 hour, or until the edges are a deep golden brown, here and there gently charred. After twenty minutes, check to make sure the tart hasn’t puffed up and forced away the apples. If so poke the puffed part with the tip of a paring knife to deflate and use the tip of the knife to rearrange gently any slices that have moved.
  9. Let cool on a rack. You want to end up with a crisp, flaky pastry, rather than one that rises.
  10. Use a long, wide spatula to get the tart off the sheet pan. It always sticks a little, and often the very edges of the tart burn slightly. Cut into 8 rectangles and serve with whipped cream if you care to.

Adapted from James Peterson, Cooking